Configure the newsletter forms with MailChimp
This is a guide to configure the newsletter form. We will use Bazar theme as example. The configuration will be the same for all our themes, only you can find differences with locations of the options.
We are using MailChimp to configure our newsletter form, but there are a lot of services and plugins you can use. If you have a doubt if your service/plugin can work or not, feel free to ask us.
- Open your browser and go to http://mailchimp.com
- Register to the website if you do not already have an account, and log in it.
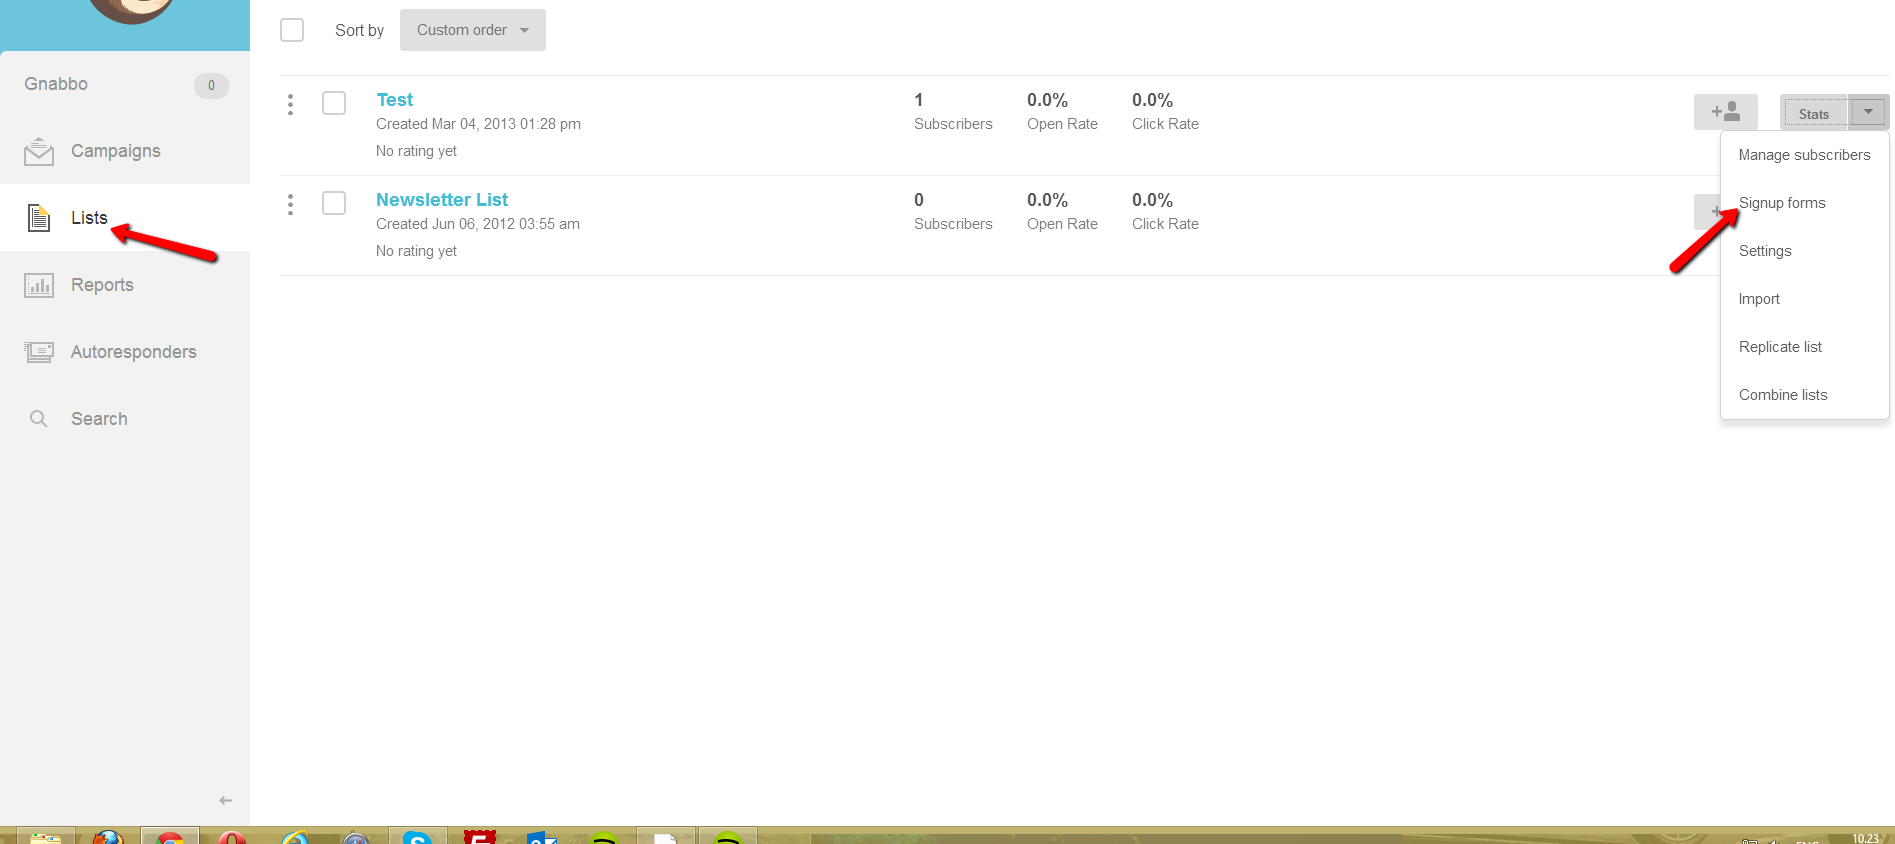
- In your dashboard in mailchimp website, you will see the navigation bar on the left. Click on Lists and then on the top right, click on Create list.
- Fill in all nedded fields and click on Save at the bottom of the page.
- You will be redirected to a page saying that your list was created successfully. On the rightof this page, you can find the button Stats with an arrow next to it.. Click on it and then click on Signup forms.
- Now you will see three big buttons. Click on Embedded forms.
- Now you will see a small link "(edit required fields in the form builder)". Be sure that the form only has the field Email Address and remove all other fields.
- Go back to the previous page, following the step 6.
- Find the HTML code of the embedded form and copy it.
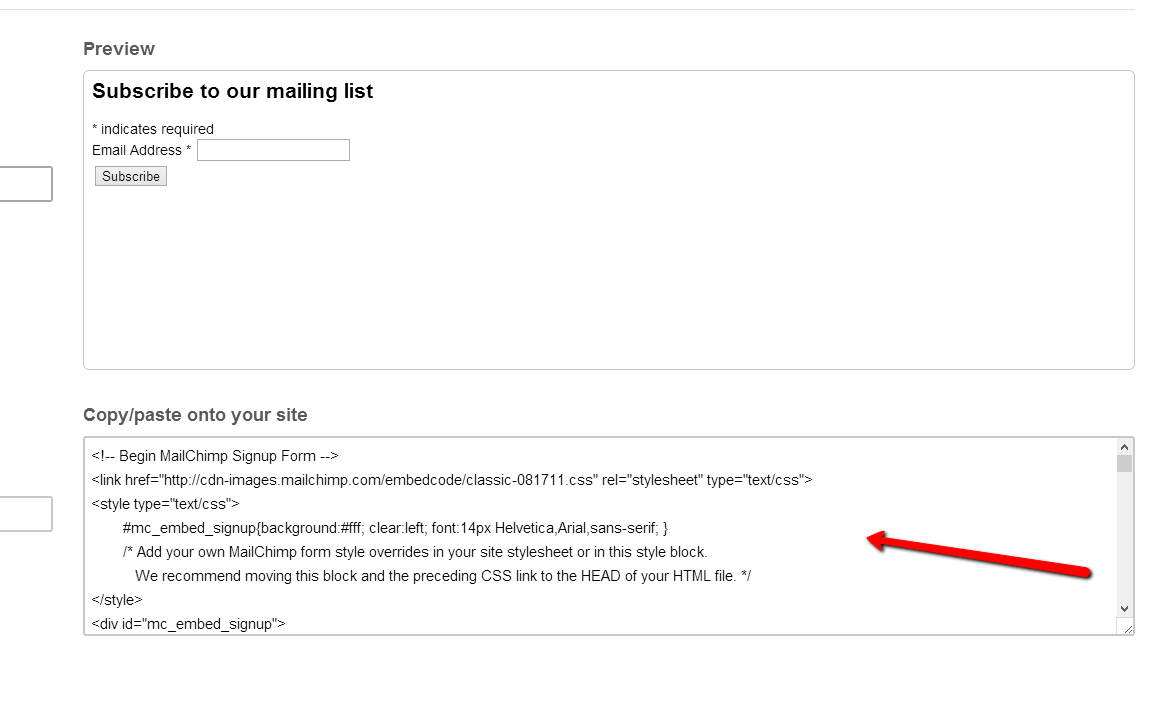
- Paste that code on the notepad.
- Now go to Theme Options > General > Newsletter. Open the notepad, where you copied the form code.
- Find this line of code: <form action=”http://your-username.us5.list-manage.com/subscribe/post?u=cf970914a3dc00778243ad149&id=236a018dc2”
- Copy the value of the attribute action, this: http://your-username.us5.list-manage.com/subscribe/post?u=cf970914a3dc00778243ad149&id=236a018dc2
- Paste it in the field Form action of the form configuration page.
- In the field Email “name” write EMAIL.
- Save the options and enjoy your newsletter form.
Note: If you are configuring the Popup, the step 11 will be Theme options > Popup > Newsletter Form